One of the best things about coffee is the sheer variety of flavors you can get with coffee from different growing regions and with different roasts. When you get your hands on a new coffee, it can be tough deciding where to start with an espresso recipe. We always recommend asking a barista or roaster when you can. If all else fails, a simple rule of thumb will help you get the most out of your coffee.
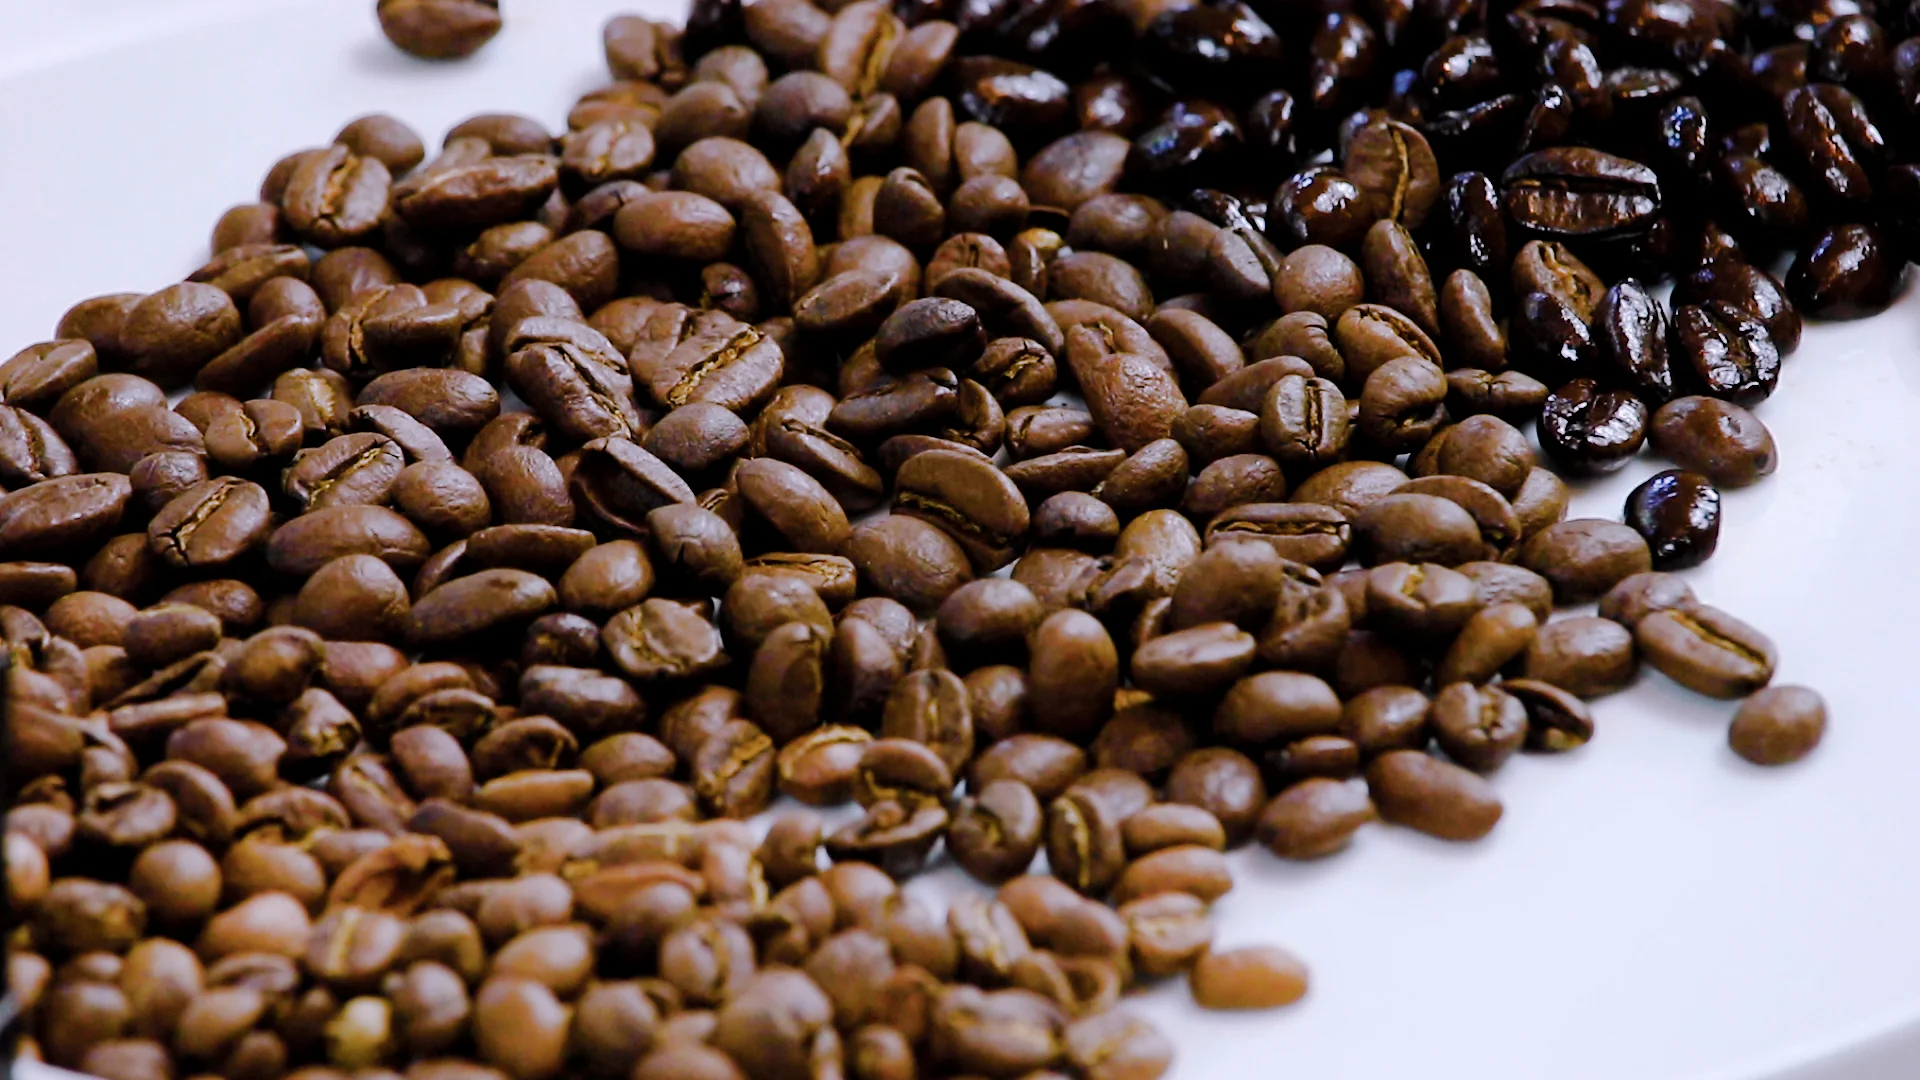
Here, we have some of our favorite coffees. One’s a dark roast, one medium, and one light. Generally speaking, roast profile has the greatest impact on what recipe you should choose. For all of these, we’ll be using a 20-gram basket with this LUCCA M58 V2, so we’ll be using a 20-gram dose to match.
The simple thing to remember with different roasts is that the beans become more porous as you roast a coffee, and certain compounds break down. Because the bean becomes less dense as you roast, it becomes easier for water to pull the delicious dissolvable solids out of the grounds. In effect, it’s easier to pull flavors out of a dark roast than it is a lighter roast.

With that in mind, let’s start with the medium roast: Cat & Cloud’s Night Shift Blend. When working with a medium roast, we always start with a recipe that’s right in the middle of that road. This is our standard “Mistobox Recipe” that we recommend all first-time home baristas start with. The goal is to pull a shot with a 1:1.5 ratio of coffee to water, translating to a 30-gram shot. We keep the PID at a temperature of 200°F, which is right in the middle of the optimal temperature range for brewing. We use this recipe as a guideline, dial in the shot, and then make adjustments based on taste.
Let’s move over to a dark roast: Verve Bronson French Roast Blend. The nice thing about roast levels is that, even if there’s nothing on the bag, you can tell what the coffee needs just by looking at the beans. Looking at these, you can clearly see it’s a darker roast. Since this is a dark roast, we want to be a little bit gentler with our recipe to ensure we don’t extract the flavors we don’t like.
When working with a dark roast, the first thing we want to do is adjust the temperature a few degrees lower, starting at 195°F. We keep the brew ratio the same but adjust the grind so that we get that same 30-gram output in around 22 seconds. Both the lower temperature and shorter brew time help reduce some of the bitter aspects of darker roasted coffees. This way, the shot is a bit sweeter and smoother, with those chocolate and molasses notes coming through.
Last, let’s pull a shot with a light-roasted coffee: Olympia Coffee Roaster’s Little Buddy Blend. Once again, a glance at the color of the beans makes it clear that this is a lighter roast. This is one of our favorite coffees around here. We try to make sure we always have a bag on hand. Because this is a lighter roast, it’s more difficult to pull flavors out since the beans are denser. With this in mind, we start with a slightly higher temperature of 203°F. We tend to prefer lighter roasted coffees pulled with a slightly higher ratio, so let’s aim for a 1:2 ratio with a yield of 40 grams of liquid espresso and a longer shot time of 28-30 seconds. Increasing our time and temperature ensures that we get all the flavors we want from our coffee. If we used our dark roast recipe for Little Buddy, the shot would come out tasting super sour and salty. This espresso recipe will result in a more balanced, sweet shot that we’d gladly drink or serve.

All three of these shots come out nicely, but there’s almost always room for improvement in coffee. These recipes serve as a good guideline, but after tasting my first shot, I’ll almost always make slight adjustments to get that little touch of extra sweetness or brightness out of a coffee. Adjusting your temperature or shot time by a second or two at a time is a great way to explore what a particular coffee has to offer and find that perfect balance that we’re all chasing.
To perfect your coffee brewing skills, check out our Intro to Home Brewing course for more training and information.